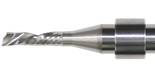
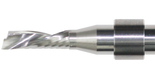
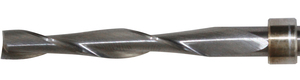
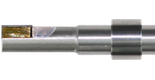
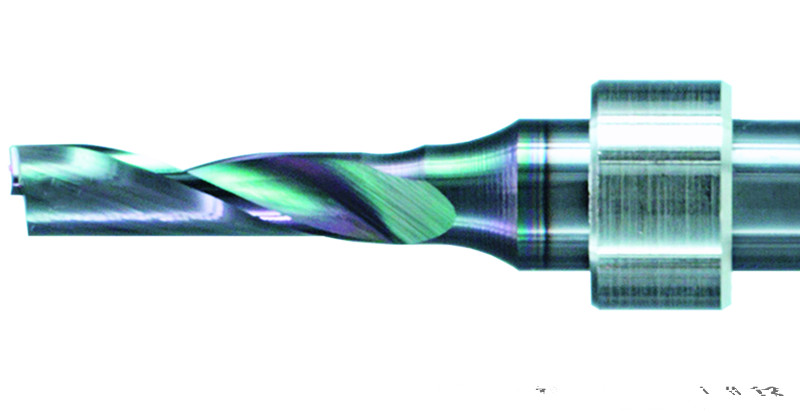
To install a stop ring (distance ring) on a Zund router bit, you must position it at an exact distance from the tip so the Automatic Router bit Changer (ARC) can accurately grab and initialize the tool.
Key Installation Steps
- Clean the Shank: Wipe down the router bit shank and the stop ring to remove any residual oil, resin, or debris.
- Insert into the Jig: Place the new stop ring into the receiving slot of the Zund setting gauge or manual jig.
- Drop in the Bit: Slide the shank of the router bit into the stop ring until the cutting tip of the bit bottoms out against the precision stop plate of the jig.
-
Secure the Ring: Depending on the style of your stop ring, lock it into place at this exact depth:
- Plastic / Friction Rings: Push down firmly with the installation sleeve tool until the ring snaps securely into position on the shank.
- Metal / Set-Screw Rings: Use a small hex key to tighten the integrated set screw against the flat part of the bit shank.
- Verify Depth: Lift the assembly out of the jig and visually check that the distance from the tip to the leading edge of the ring perfectly matches your module specification (typically a strict 32 mm or 40 mm distance depending on your RM-A or RM-L router setup)
- Load into the ARC: Place the pre-set bit directly into one of the slots of your Automatic Router bit Changer (ARC)
Why Precision Matters
If the stop ring is misaligned by even a fraction of a millimeter, the pneumatic quick-change chuck (QC) will fail to clamp the bit correctly. Furthermore, an incorrectly seated ring can cause the Zund Cut Center (ZCC) software to trigger a collision error during the Integrated Tool Initialization (ITI) process.


SHARE:
PREV : About CNC Digital Cutting Systems & Flatbed Cutters Tools NEXT : China Blackman & White CNC Oscillating Knife Blade Manufacturer Wholesale Supply Sales Price