

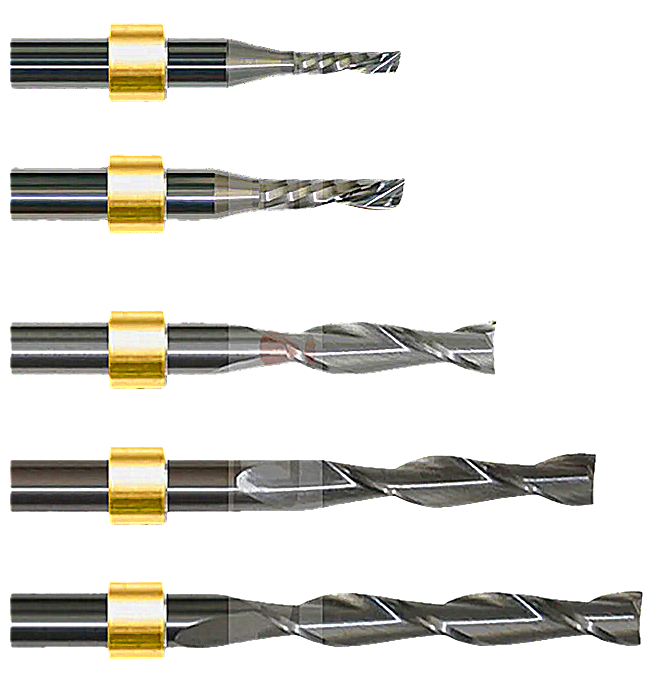
Incorrect placement can result in failed tool changes, material damage, or bit slippage.
1. Position the Ring Using a Setting Jig
Do not guess or measure the placement manually. Zund systems require a dedicated, precision stop-ring setting gauge (jig) to achieve the exact calibration distance required by the spindle.
- Clean the Components: Thoroughly wipe the router bit shank and the stop ring with a lint-free cloth to remove any oil, resin, or debris. Particles can cause the ring to sit crooked or slip under a load.
- Load the Jig: Insert the new plastic or metal stop ring into the matching receiving slot of your setting gauge.
- Insert the Bit: Slide the shank of your router bit through the stop ring until the very tip of the bit bottoms out flat against the precision stop plate of the jig.
- Lock the Ring: If using a metal lock-ring, tighten the set screw firmly using an Allen wrench. If using standard press-fit plastic rings, ensure the ring is driven completely straight and flush onto the shank to establish the correct known distance.
2. Loading the Bit into the Spindle
- Flush Seating: When the bit is loaded into the collet (either manually or via the ARC magazine), the top face of the stop ring must press flush against the collet face.
- The Purpose: This flush contact guarantees that the Zund software knows exactly where the cutting tip is relative to the spindle head. It ensures perfect depth consistency across tool changes and prevents the bit from "walking out" or creeping upward into the collet during heavy routing loads.
- Airborne Swarf Barrier: Keeping the ring tightly sealed against the collet face also acts as a physical shield, reducing the amount of airborne dust and debris that gets pulled up into the spindle bore.
- Tool Initialization: Once the bit is loaded in the magazine or spindle, perform the Automatic Knife Initialization (AKI) or tool calibration routine via the Zund Cut Center software. The machine will measure the tool tip to confirm it matches the expected profile.
- Configure Routing Parameters: Ensure your material thickness and base depths are accurate in ZCC. Even though the physical stop ring ensures mechanical depth accuracy, the software dictates the multi-pass stepdown limits (typically keeping stepdowns conservative, such as under 0.050 inches depending on your specific material and bit).
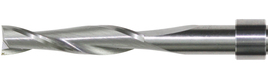
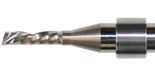
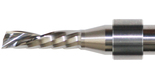
More models:Zund End Mill Cutters And Router Bits
Shenzhen Oyea Global sales: ensuring availability across Europe, the USA, the Middle East, and Asia with efficient shipping and customer service.Sold To Germany, France, The United Kingdom, Poland, The United States, Russia, Vietnam, Thailand, Indonesia, Singapore, The Netherlands, Switzerland, South Korea, Japan, Turkey, The Philippines, Hong Kong, Taiwan, Italy, Spain, Hungary, The Czech Republic And Other Countries Or Regions
SHARE:


PREV : Gerber P30033b P33489b P37311b Vinyl Cutter And Tangential Plotter Systems Solid Carbide Blades NEXT : What Are The Tungsten Steel Carbide Punches(Notching & Punching Tools)